iTerm2
iTerm2
homebrew
/bin/bash -c “$(curl -fsSL https://raw.githubusercontent.com/Homebrew/install/HEAD/install.sh)””)
报错:Warning: /opt/homebrew/bin is not in your PATH.
解决:export PATH=/opt/homebrew/bin:$PATH,或永久编辑到 ~/.zshrc 或 ~/.bashrc
iTerm2
安装 iTerm2
- 手动下载安装
是一个终端,替代 Mac 自带的终端,可以设置终端的主题
https://iterm2.com/downloads.html
- 通过 homebrew 安装
1
2
brew tap caskroom/cask  # 首次安装需执行该条命令
brew cask install iterm2 # 安装iterm2
iTerm2 设置
替换默认的 shell 为 zsh
系统提供了很多 shell,默认的 shell 格式为 /bin/bash 格式
- 查看当前的 shell 格式:
echo $SHELL

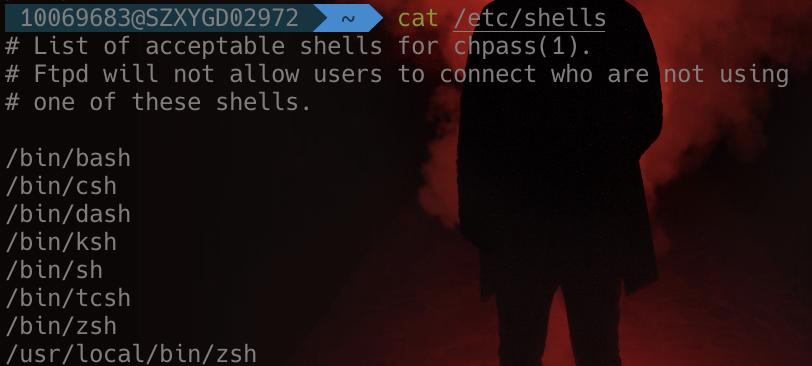
- 查看系统支持的所有 shell 格式:
cat /etc/shells
- Mac 系统默认使用 dash 作为 shell,可以使用命令修改默认使用 zsh:
1
2
3
4
5
6
# 将当前shell改为zsh
chsh -s /bin/zsh
# 退出系统shell重进
exit
# 查看当前的shell格式
cat /etc/shells
安装 Nerd Fonts
使用的 theme 中有很多小图标,需要使用支持这些图标的 icon font,这类字体称为 powerline font(plus 版的支持更多图标的称为:nerd font)
没有安装 icon font 的界面:
设置字体:iTerm2 -> Preferences -> Profiles -> Text -> Font -> Change Font
window 设置半透明/blur
路径:菜单栏 -> Preferences -> Profiles -> Window
Transparency:10 透明度设置
Blur:4 模糊度设置
Enabled:开启背景图片
Mode:Scale to Fill 填充
Blending:30 背景纯色与背景图片的混合度
Rows:20 新窗口显示的行数(高度)
style:新窗口的位置,我习惯设置 Full-Width Top of Screen
状态栏设置
路径:菜单栏 -> Preferences -> Profiles -> 分栏Session
Status bar enabled:拖动你喜欢的 Item
iterm2 zsh 隐藏命令行前面的用户名和主机名
修改 vim ~/.zshrc 文件,在文件底部增加
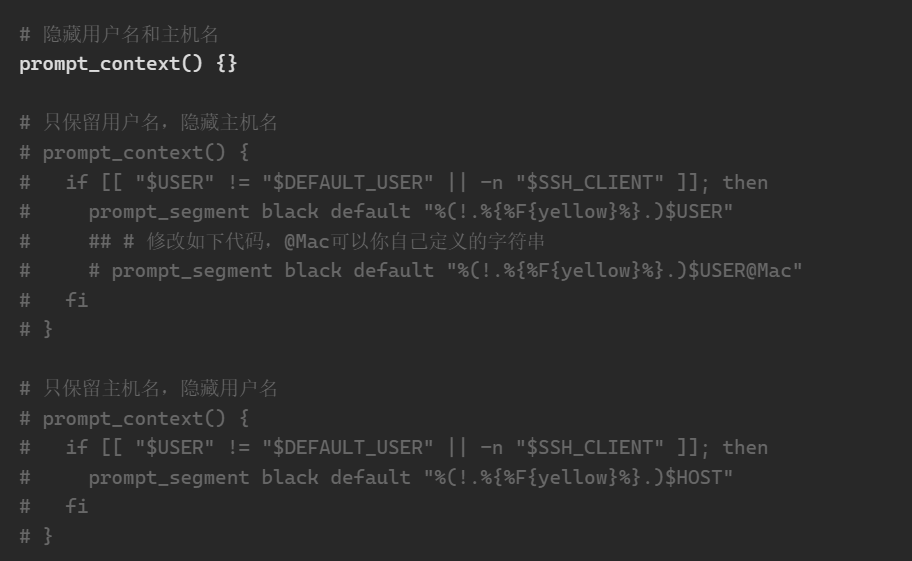
修改后执行 source ~/.zshrc 就能看到效果。
用户名也可以自定义