ADB
ADB 常用操作
ADB 命令速查
awesome-adb
adbshell
ADB 基本命令
adb devices
adb kill-server
adb logcat
解析 adb logcat 的帮助信息
http://blog.csdn.net/tumuzhuanjia/article/details/39555445
输出指定标签内容:
1
2
3
adb logcat -s ActivityManager //输出Tag为ActivityManager的log

adb logcat *:w   输出至少w级别的日志
adb start activity
1
adb shell am start -a android.intent.action.MAIN -c android.intent.category.LAUNCHER -n com.baidu.launcher.i18n/com.baidu.launcher.i18n.Launcher
adb shell
dumpsys
查看最上层成 activity 名字/查看 Activity 名
查看 top activity、顶部 Activity
linux:
1
adb shell dumpsys window | grep  mCurrentFocus
windows:
在 windows 下上面这个命令似乎也不太行了,可以在 git bash 命令行执行
1
adb shell dumpsys window | grep  mCurrentFocus
kill 进程
adb shell am
am 可用命令
1
2
3
4
5
6
7
8
9
10
11
12
13
14
15
16
17
18
19
20
21
22
23
24
25
26
27
28
29
 am start: start an Activity.  Options are:
    -D: enable debugging
    -W: wait for launch to complete
    --start-profiler <FILE>: start profiler and send results to <FILE>
    --sampling INTERVAL: use sample profiling with INTERVAL microseconds  between samples (use with --start-profiler)
    -P <FILE>: like above, but profiling stops when app goes idle
    -R: repeat the activity launch <COUNT> times.  Prior to each repeat, the top activity will be finished.
    -S: force stop the target app before starting the activity
    --opengl-trace: enable tracing of OpenGL functions
    --user <USER_ID> | current: Specify which user to run as; if not specified then run as the current user.

     am startservice: start a Service.  Options are:
            --user <USER_ID> | current: Specify which user to run as; if not  specified then run as the current user.

     am stopservice: stop a Service.  Options are:
            --user <USER_ID> | current: Specify which user to run as; if not specified then run as the current user.

     am force-stop: force stop everything associated with <PACKAGE>.
            --user <USER_ID> | all | current: Specify user to force stop;  all users if not specified.

     am kill: Kill all processes associated with <PACKAGE>.  Only kills.
           processes that are safe to kill -- that is, will not impact the user experience.
           --user <USER_ID> | all | current: Specify user whose processes to kill; all users if not specified.

     am kill-all: Kill all background processes.

     am broadcast: send a broadcast Intent.  Options are:
           --user <USER_ID> | all | current: Specify which user to send to; if not specified then send to all users.
           --receiver-permission <PERMISSION>: Require receiver to hold permission.
am start 启动 Activity/Service
1. 启动一个指定的组件
1
adb shell am start -n 包名 / 包含包名的Activity 或者service
Camera(照相机)的启动:
1
adb shell am start -n com.android.camera/com.android.camera.Camera
Browser(浏览器)的启动:
1
adb shell am start -n com.android.browser/com.android.browser.BrowserActivity
2、使用 Action 隐式的启动
按照指定的地址启动浏览器:
1
adb shell am start -a android.intent.action.VIEW -d  http://www.baidu.cn/
拨打电话 :
1
adb shell am start -a android.intent.action.CALL -d tel:10086
3、启动一个服务 service
1
2
3
4
5
6
# 显示启动Service
am startservice -n com.android.music/com.android.music.MediaService


# 隐式启动Service 手动唤醒语助
adb shell am startservice -a android.intent.action.VIEW -d vr://com.iflytek.autofly.vr/interaction/start?type=1
am broadcast -a 发送广播
1
2
3
4
5
6
7
8
9
10
11
adb shell am broadcast
# 后面的参数有:
[-a <ACTION>] # 广播action
[-d <DATA_URI>]
[-t <MIME_TYPE>]
[-c <CATEGORY> [-c <CATEGORY>] ...]
[-e|--es <EXTRA_KEY> <EXTRA_STRING_VALUE> ...]
[--ez <EXTRA_KEY> <EXTRA_BOOLEAN_VALUE> ...]
[-e|--ei <EXTRA_KEY> <EXTRA_INT_VALUE> ...]
[-n <COMPONENT>] # 组件名称,如com.xxx/com.xxx.adapter.wing.UgIdReceiver
[-f <FLAGS>] [<URI>]
参数说明:
- ei 对应 integer 类型
- es 对应 String 类型
- ez 对应 boolean 类型
- ef 对应 float 类型
- el 对应 long 类型
案例 1:
1
adb shell am broadcast -a android.intent.action.adb_sr_mock --es "msg" 'data'
Android O 版本的无效
现象: 下面的命令在 Android O 版本不生效
1
adb shell am broadcast -a "event_ugid_update"
原因: Android O 版本以后 google 对隐式广播(Implicit Broadcast)的限制更加严格了,这就导致了 apk 在 O 版本之前的版本上好用,在之后的版本上达不到预期的效果。
解决:
1
adb shell am broadcast -n com.xxx/com.xxx.adapter.wing.UgIdReceiver -a "event_ugid_update"
Root
开发中需求需要监听开机广播 android.intent.action.BOOT_COMPLETED,然后让应用开机自启动。以前测试总是傻傻的关机然后再开机再验证有没自启动,可以通过 adb shell 命令模拟开机广播
1
2
3
adb shell am broadcast -a android.intent.action.BOOT_COMPLETED
# 指定自己定义BroadcastReceiver接收广播
adb shell am broadcast -a android.intent.action.BOOT_COMPLETED -n com.xxx/.mypkg.receiver.BootReceiver
在有些设备上可能会报类似 java.lang.SecurityException: Permission Denial: not allowed to send broadcast android.intent.action.BOOT_COMPLETED from pid=3715, uid=2000 这样的错误,遇到这个错误可以先执行 adb root 再执行发送广播的命令就可以了
1
2
adb root
adb shell am broadcast -a android.intent.action.BOOT_COMPLETED
复制 pc 文本到 Android 输入框
- 首先 android 设备上,要把光标焦点定位到需要输入的文本框,比如当你输入用户名密码的时候
- adb shell input text hell // 则 hello 自动的填到获得焦点的输入框了,貌似要在对应输入的语言键盘模式下,如输入英文要切换到英文键盘
1
adb shell input text hello
按键 input keyevent
唤醒屏幕
1
adb shell input keyevent 26
输入 tab 键定位到下一输入框
1
adb shell input keyevent 61
其他 keyevent 值
具体数值 看 android 源码 android.view.KeyEvent.java
adb 卸载 app
列出包名:
1
adb shell pm list packages -s
卸载普通 app
1
adb uninstall com.xxx.yyy.zzz
内置应用
1
2
adb shell
pm uninstall --user 0 com.aaa.bbb.ccc
卸载应用时出现 Failure [DELETE_FAILED_INTERNAL_ERROR] 的解决办法
- 获取此要卸载的包名的地址
1
2
adb shell pm path com.gxatek.cockpit.schedule
# package:/system/app/GxatekSchedule/GxatekSchedule.apk
- 挂载系统读写权限
1
adb remount
- 删除包
1
adb shell rm /system/app/GxatekSchedule/GxatekSchedule.apk
- 重启
1
adb reboot
adb 修改系统时间
- 获取 root 权限
1
2
adb shell
su
- 设置日期和时间
date "yyyymmdd.hhmmss",比如设置日期时间为:2022 年 9 月 22 日 17:10:10
date 月日时分年.秒
1
date 092217102022.10
adb screenrecord 录制屏幕
在 Android4.4+ 的手机,系统自带了一个命令 screenrecord,可以实现录屏
- 录制命令
1
adb shell screenrecord /sdcard/test.mp4
视频保存目录可以自己指定,如上面的/sdcard/test.mp4,命令执行后会一直录制 180s,按下 ctrl+c 可以提前结束录制
- 设定视频分辨率
1
adb shell screenrecord --size 848*480 /sdcard/test.mp4
- 设定视频比特率
默认比特率是 4M/s,为了分享方便,我们可以调低比特率为 2M
1
adb shell screenrecord --bit-rate 2000000 /sdcard/test.mp4
- 获取视频文件
1
adb pull /sdcard/test.mp4 .
- 转 GIF 文件
在线转 gif(默认 5s):
http://ezgif.com/video-to-gif
adb 查看 apk 资源及信息
查看 apk 包的 packageName、versionCode、applicationLabel、launcherActivity、permission 等各种详细信息
1
aapt dump badging <file_path.apk>
案例:
1
/Users/zengfansheng/Library/Android/sdk/build-tools/30.0.3/aapt2 dump badging rimet_10002068.apk
查看权限
1
aapt dump permissions <file_path.apk>
查看资源列表
1
aapt dump resources <file_path.apk>
一般都会输出很多的信息,如要全部查看,请用下面这两句:
1
aapt dump resources <file_path.apk> > sodino.txt
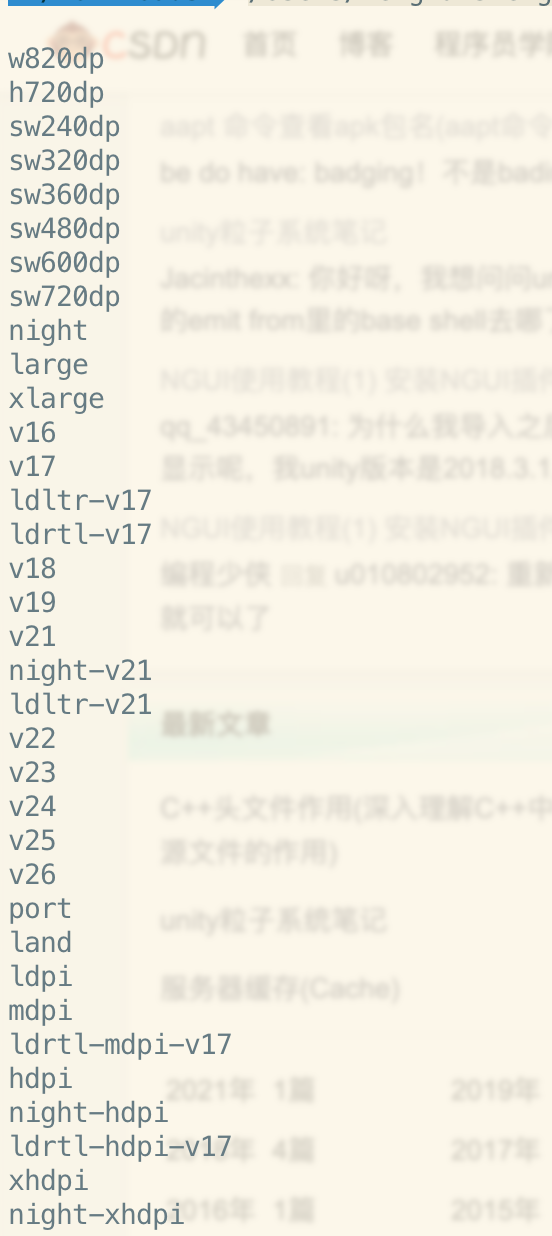
查看 apk 配置信息
1
aapt dump configurations <file_path.apk>
案例:
1
/Users/zengfansheng/Library/Android/sdk/build-tools/30.0.3/aapt2 dump configurations rimet_10002068.apk
查看指定 apk 的指定 xml 文件
- 以树形结构输出的 xml 信息。
1
aapt dump xmltree <file_path.apk> res/***.xml
- 输出 xml 文件中所有的字符串信息。
1
aapt dump xmlstrings <file_path.apk> res/***.xml
打开开发者模式
adb shell settings put global development_settings_enabled 1
1:开启,0:关闭
adb 命令打开手机设置页面
打开 Setting 主页面
adb shell am start com.android.settings/com.android.settings.Settings
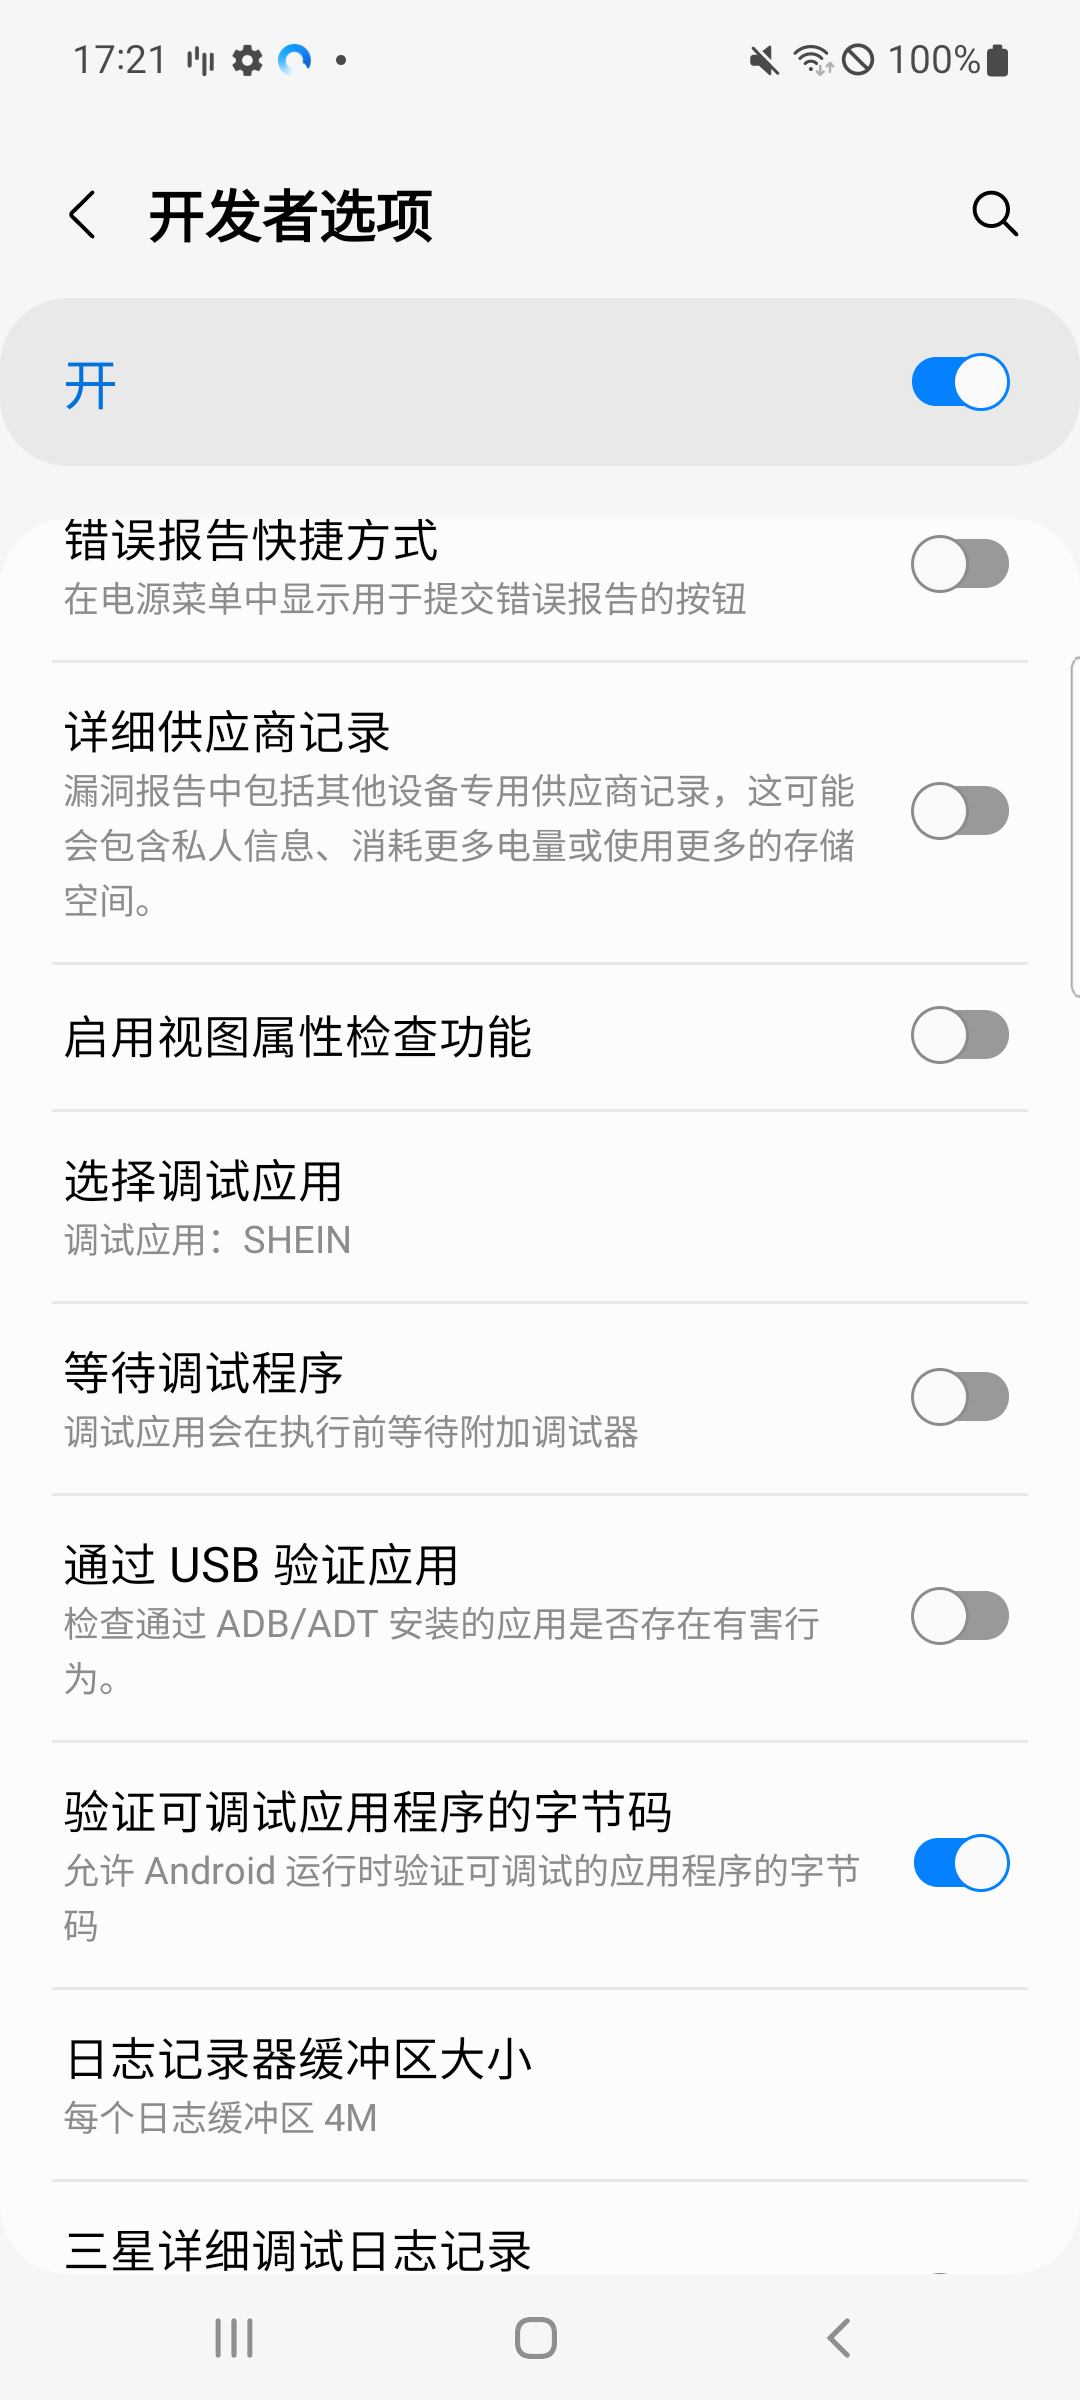
设置等待调试应用
等待调试有 2 种方式:
- 方法 1:「开发者选项 - 选择调试应用」的方式来调试应用启动阶段代码。具体方式为
「选择调试应用」-> 「运行应用」-> 「Attach To Process」,然后等待断点执行即可。 - 方法 2:使用 adb 命令
adb shell am set-debug-app -w --persistent 包名
设置 APP 启动时等待 debugger
单次 wait debugger
adb shell am set-debug-app -w me.hacket.assistant.samples
- set-debug-app 用来应用为 debug 模式
- -w 意思为 wait,在进程启动的时候,等待 debugger 进行连接
- me.hacket.assistant.samples 代表想要调试的应用的包名或 ApplicationId
执行上面的命令,当我们再次启动目标应用时会出现等待的页面,需要在 AS 中 Run—> Attach Debugger to Android Process 来绑定进程 debug,然后会进入到 APP 的断点处
持久化 wait debugger
adb shell am set-debug-app -w –persistent me.hacket.assistant.samples
—persistent 意思是持久的,意思是一直设置这个应用为调试模式,即每次开启(进程创建)都会弹出对话框,即使卸载再安装或者更新应用
清除调试应用
adb shell am clear-debug-app
执行这个命令后会清除 选择调试应用 和 等待调试程序 选项
monkey
ADB 常见错误
adb 连接不上: Warning: debug info can be unavailable.Please close other application using ADB: Monitor, DDMS, Eclipse
在进行 Android Studio debug 时,弹窗错误
解决 1: 拔掉 USB 数据线,再插上重试; 解决 2: 使用 adb 命令重启 server
1
2
adb kill-server
adb start-server
解决 3: 重启手机开发者模式重的 USB 调试;
解决 4: 重启 Android Studio 开发工具
解决 5: 找到占用了 5037 接口的进程,kill 掉
1
2
3
4
5
6
7
# MacOS查看进程占用了5037端口
lsof -i tcp:5037
kill -9 pid

# Windows查看什么进程占用了5037端口
netstat -ano|findstr "5037"
解决 6: 重启 usb(这个有效)
1
adb usb
adb 连接不上: adb.exe: failed to check server version: protocol fault (couldn't read status): connection reset
这个错误提示表明 adb (Android Debug Bridge) 在尝试检查服务器版本时出现了连接重置的问题。这通常是因为 adb 服务器未正确启动或与设备的连接有问题。以下是一些可能的解决方案:
- 重启 adb 服务器:
1
2
adb kill-server
adb start-server
- 检查
adb版本兼容性(问题就是这个)
确保你使用的 adb 版本与设备的 Android 版本兼容。如果不兼容,可能需要下载适当版本的 adb 工具。可以从 Android SDK 官方网站下载最新版本。覆盖 platform-tools 目录
- 检查设备连接:
- 确保设备已连接并启用了 USB 调试模式。
- 使用命令
adb devices检查设备是否已被识别。
- 杀掉可能占用 adb 端口 (5037) 的进程:
1
2
3
4
# 有时其他进程可能占用了 adb 所需的端口(默认是5037)。你可以使用以下命令找到并终止这些进程:
netstat -ano | findstr :5037
# 找到相应的进程ID后,使用以下命令杀掉进程:
taskkill /PID <pid> /F
- 检查系统防火墙和杀毒软件:
确保系统的防火墙或杀毒软件没有阻止 adb 连接。你可以暂时禁用它们来排除这个可能性。