04.Flutter网络和存储
http 网络请求
Http 插件
dart:io http
http 基本使用
示例:请求百度首页
1
2
3
4
5
6
7
8
9
10
11
12
13
14
15
16
17
18
19
20
21
22
23
24
25
26
27
28
29
30
31
32
33
34
35
36
37
38
39
40
41
42
43
44
45
46
47
48
49
50
51
52
53
54
55
56
57
58
59
60
61
62
63
64
65
66
67
68
69
70
71
72
73
74
75
76
77
78
79
80
81
82
83
84
85
86
87
88
89
90
91
92
93
94
95
class HttpBaiduDemo extends StatelessWidget {
  const HttpBaiduDemo({super.key});

  @override
  Widget build(BuildContext context) {
    return MaterialApp(
      theme: ThemeData(
        colorScheme: ColorScheme.fromSeed(seedColor: Colors.deepPurple),
        useMaterial3: true,
      ),
      home: Scaffold(
        appBar: AppBar(
          title: const Text("http baidu Demo"),
        ),
        body: Container(
          decoration: const BoxDecoration(
            color: Colors.transparent,
          ),
          child: demoWidget(),
        ),
      ),
    );
  }

  Widget demoWidget() {
    return HttpTestRoute();
  }
}

class HttpTestRoute extends StatefulWidget {
  const HttpTestRoute({super.key});

  @override
  _HttpTestRouteState createState() => _HttpTestRouteState();
}

class _HttpTestRouteState extends State<HttpTestRoute> {
  bool _loading = false;
  String _text = "";

  @override
  Widget build(BuildContext context) {
    return SingleChildScrollView(
        child: Column(
      children: [
        ElevatedButton(
            onPressed: () {
              _loading ? null : request();
            },
            child: const Text('获取百度首页请求')),
        Container(
          width: MediaQuery.of(context).size.width - 50.0,
          child: Text(_text.replaceAll(RegExp(r"\s"), "")),
        )
      ],
    ));
  }

  void request() async {
    setState(() {
      _loading = true;
      _text = "正在请求...";
    });

    try {
      // 创建一个HttpClient
      HttpClient httpClient = HttpClient();
      HttpClientRequest request =
          await httpClient.getUrl(Uri.parse('https://www.baidu.com'));
      // 使用iPhone的UA的请求头
      request.headers.add("user-agent",
          "Mozilla/5.0 (iPhone; CPU iPhone OS 9_1 like Mac OS X) AppleWebKit/601.1.46(KHTML, like Gecko) Version/9.0 Mobile/13B143 Safari/601.1");

      // post或put添加body
      // String payload = "xxx";
      // request.add(utf8.encode(payload));

      // 等待连接服务器(会将请求信息发送给服务器)
      HttpClientResponse response = await request.close();
      // 读取响应内容
      _text = await response.transform(utf8.decoder).join();
      // 输出响应头
      print(response.headers);

      // 关闭client后,通过该client发起的所有请求都会终止。
      httpClient.close();
    } catch (e) {
      _text = "请求失败:$e";
    } finally {
      setState(() {
        _loading = false;
      });
    }
  }
}
HttpClient 设置
HttpClient 有很多属性可以配置,常用的属性列表如下:
| 属性 | 含义 |
|---|---|
| idleTimeout | 对应请求头中的 keep-alive 字段值,为了避免频繁建立连接,httpClient 在请求结束后会保持连接一段时间,超过这个阈值后才会关闭连接。 |
| connectionTimeout | 和服务器建立连接的超时,如果超过这个值则会抛出 SocketException 异常。 |
| maxConnectionsPerHost | 同一个 host,同时允许建立连接的最大数量。 |
| autoUncompress | 对应请求头中的 Content-Encoding,如果设置为 true,则请求头中 Content-Encoding 的值为当前 HttpClient 支持的压缩算法列表,目前只有 “gzip” |
| userAgent | 对应请求头中的 User-Agent 字段。 |
有些属性只是为了更方便的设置请求头,对于这些属性,你完全可以通过 HttpClientRequest 直接设置 header,不同的是通过 HttpClient 设置的对整个 httpClient 都生效,而通过 HttpClientRequest 设置的只对当前请求生效。
代理
可以通过 findProxy 来设置代理策略,例如,我们要将所有请求通过代理服务器(192.168.1.2:8888)发送出去:
1
2
3
4
 client.findProxy = (uri) {
    // 如果需要过滤uri,可以手动判断
    return "PROXY 192.168.1.2:8888";
 };
findProxy 回调返回值是一个遵循浏览器 PAC 脚本格式的字符串,详情可以查看 API 文档,如果不需要代理,返回 “DIRECT” 即可。
有时代理服务器也启用了身份验证,这和 http 协议的认证是相似的,HttpClient 提供了对应的 Proxy 认证方法和属性:
1
2
3
4
set authenticateProxy(
    Future<bool> f(String host, int port, String scheme, String realm));
void addProxyCredentials(
    String host, int port, String realm, HttpClientCredentials credentials);
证书校验
Https 中为了防止通过伪造证书而发起的中间人攻击,客户端应该对自签名或非 CA 颁发的证书进行校验。HttpClient 对证书校验的逻辑如下:
- 如果请求的 Https 证书是可信 CA 颁发的,并且访问 host 包含在证书的 domain 列表中 (或者符合通配规则) 并且证书未过期,则验证通过。
- 如果第一步验证失败,但在创建 HttpClient 时,已经通过
SecurityContext将证书添加到证书信任链中,那么当服务器返回的证书在信任链中的话,则验证通过。 - 如果 1、2 验证都失败了,如果用户提供了
badCertificateCallback回调,则会调用它,如果回调返回 true,则允许继续链接,如果返回 false,则终止链接。
我们的证书校验其实就是提供一个 badCertificateCallback 回调。
示例:假设我们的后台服务使用的是自签名证书,证书格式是 PEM 格式,我们将证书的内容保存在本地字符串中,那么我们的校验逻辑如下:
1
2
3
4
5
6
7
8
String PEM="XXXXX"; // 可以从文件读取
// ...
httpClient.badCertificateCallback=(X509Certificate cert, String host, int port){
  if(cert.pem==PEM){
    return true; // 证书一致,则允许发送数据
  }
  return false;
};
X509Certificate 是证书的标准格式,包含了证书除私钥外所有信息。
对于自签名的证书,我们也可以将其添加到本地证书信任链中,这样证书验证时就会自动通过,而不会再走到 badCertificateCallback 回调中:
1
2
3
4
5
SecurityContext sc = SecurityContext();
//file为证书路径
sc.setTrustedCertificates(file);
//创建一个HttpClient
HttpClient httpClient = HttpClient(context: sc);
注意,通过 setTrustedCertificates() 设置的证书格式必须为 PEM 或 PKCS12,如果证书格式为 PKCS12,则需将证书密码传入,这样则会在代码中暴露证书密码,所以客户端证书校验不建议使用 PKCS12 格式的证书。
dio库
websocket
web_socket_channel
使用
- 连接 websocket 服务器
1
final channel = IOWebSocketChannel.connect('wss://echo.websocket.events');
- 监听来自服务器的消息,WebSocketChannel 提供了一个来自服务器的消息 Stream 。该 Stream 类是 dart:async 包中的一个基础类。它提供了一种方法来监听来自数据源的异步事件。与 Future 返回单个异步响应不同,Stream 类可以随着时间推移传递很多事件。该 StreamBuilder 组件将连接到一个 Stream, 并在每次收到消息时通知 Flutter 重新构建界面。
1
2
3
4
5
6
StreamBuilder(
  stream: widget.channel.stream,
  builder: (context, snapshot) {
    return Text(snapshot.hasData ? '${snapshot.data}' : '');
  },
);
- 将数据发送到服务器
1
channel.sink.add('Hello!');
WebSocketChannel 提供了一个 StreamSink,它将消息发给服务器。 StreamSink 类提供了给数据源同步或异步添加事件的一般方法。
- 关闭 WebSocket 连接
1
channel.sink.close();
示例
1
2
3
4
5
6
7
8
9
10
11
12
13
14
15
16
17
18
19
20
21
22
23
24
25
26
27
28
29
30
31
32
33
34
35
36
37
38
39
40
41
42
43
44
45
46
47
48
49
50
51
52
53
54
55
56
57
58
59
60
61
62
63
64
65
66
67
68
69
70
71
72
73
74
75
76
77
78
79
80
81
82
83
84
85
86
87
88
89
90
91
92
93
94
95
96
class WebSocketDemo extends StatelessWidget {
const WebSocketDemo({super.key});
@override
Widget build(BuildContext context) {
return MaterialApp(
theme: ThemeData(
colorScheme: ColorScheme.fromSeed(seedColor: Colors.deepPurple),
useMaterial3: true,
),
home: Scaffold(
appBar: AppBar(
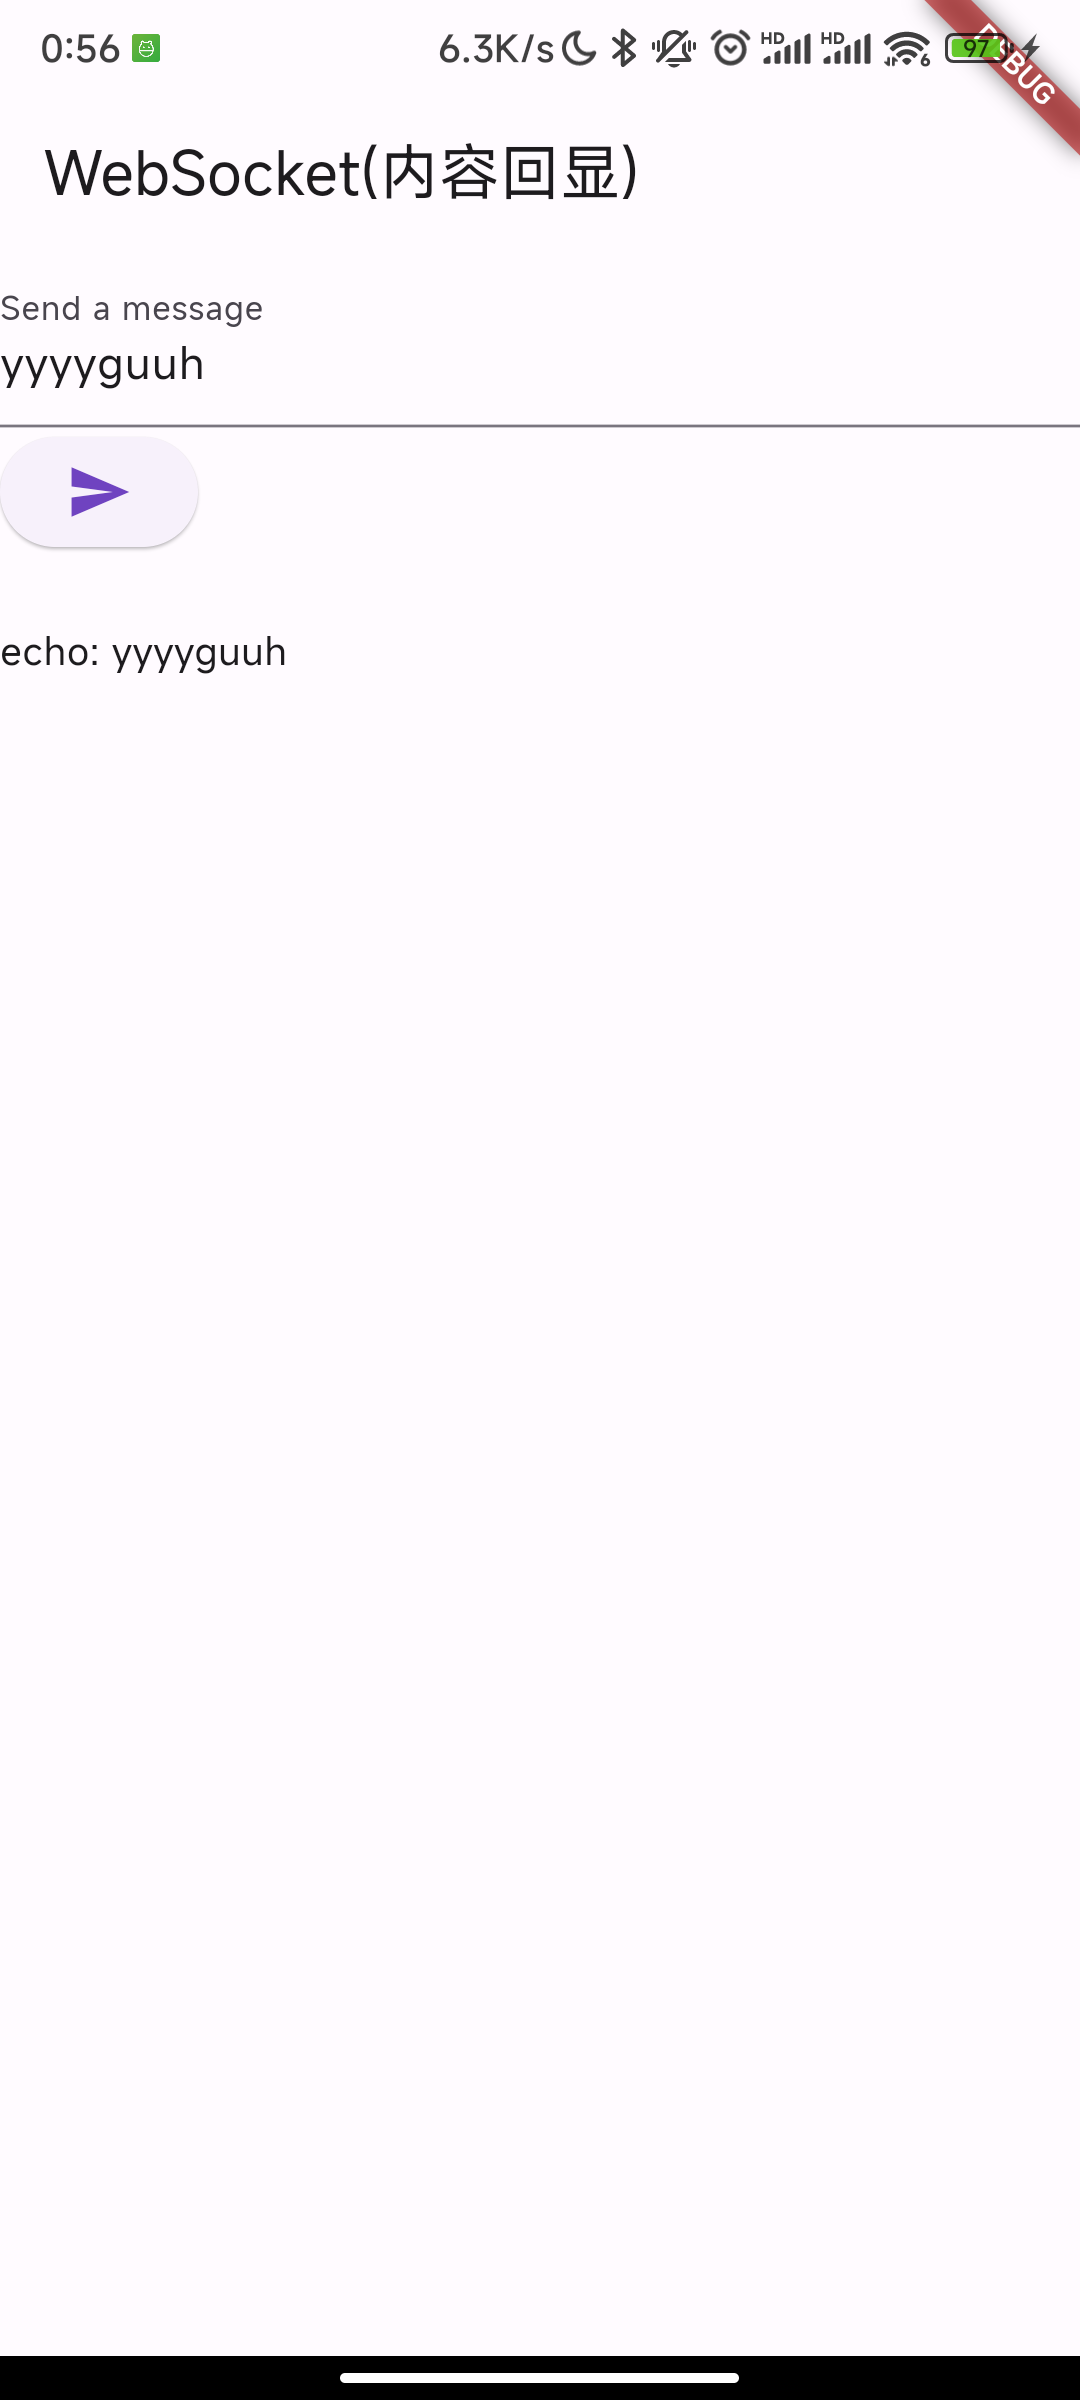
title: const Text("WebSocket(内容回显)"),
),
body: Container(
decoration: const BoxDecoration(
color: Colors.transparent,
),
child: demoWidget(),
),
),
);
}
Widget demoWidget() {
return WebSocketRoute();
}
}
class WebSocketRoute extends StatefulWidget {
const WebSocketRoute({super.key});
@override
_WebSocketRouteState createState() => _WebSocketRouteState();
}
class _WebSocketRouteState extends State<WebSocketRoute> {
final TextEditingController _controller = TextEditingController();
late IOWebSocketChannel channel;
String _text = "";
@override
void initState() {
// 创建websocket连接 http://www.websocket-test.com/
// channel = IOWebSocketChannel.connect('ws://124.222.224.186:8800');
// wss://echo.websocket.events 为 flutter.cn 提供的测试服务地址。
channel = IOWebSocketChannel.connect('wss://echo.websocket.events');
}
@override
Widget build(BuildContext context) {
return Column(
crossAxisAlignment: CrossAxisAlignment.start,
children: [
Form(
child: TextFormField(
controller: _controller,
decoration: const InputDecoration(labelText: 'Send a message'),
),
),
ElevatedButton(
onPressed: _sendMessage,
child: const Icon(Icons.send),
),
StreamBuilder(
stream: channel.stream,
builder: (context, snapshot) {
// 网络不通会走到这
if (snapshot.hasError) {
_text = "网络不通...";
} else if (snapshot.hasData) {
_text = "echo: ${snapshot.data}";
}
return Padding(
padding: const EdgeInsets.symmetric(vertical: 24.0),
child: Text(_text),
);
},
),
],
);
}
void _sendMessage() {
if (_controller.text.isNotEmpty) {
channel.sink.add(_controller.text);
}
}
@override
void dispose() {
channel.sink.close();
super.dispose();
}
}
Socket
Socket API 是操作系统为实现应用层网络协议提供的一套基础的、标准的 API,它是对传输层网络协议(主要是 TCP/UDP)的一个封装。Socket API 实现了端到端建立链接和发送/接收数据的基础 API,而高级编程语言中的 Socket API 其实都是对操作系统 Socket API 的一个封装。
如果我们需要自定义协议或者想直接来控制管理网络链接、又或者我们觉得自带的 HttpClient 不好用想重新实现一个,这时我们就需要使用 Socket。
示例:使用 Socket 实现 Http Get 请求
1
2
3
4
5
6
7
8
9
10
11
12
13
14
15
16
17
18
19
20
21
22
23
24
25
26
27
28
class SocketRoute extends StatelessWidget {
  const SocketRoute({Key? key}) : super(key: key);

  @override
  Widget build(BuildContext context) {
    return FutureBuilder(
      future: _request(),
      builder: (context, snapShot) {
        return Text(snapShot.data.toString());
      },
    );
  }

  _request() async {
    //建立连接
    var socket = await Socket.connect("baidu.com", 80);
    //根据http协议,发起 Get请求头
    socket.writeln("GET / HTTP/1.1");
    socket.writeln("Host:baidu.com");
    socket.writeln("Connection:close");
    socket.writeln();
    await socket.flush(); //发送
    //读取返回内容,按照utf8解码为字符串
    String _response = await utf8.decoder.bind(socket).join();
    await socket.close();
    return _response;
  }
}
JSON
dart:convert
手动序列化,适合较小的项目
简单的序列反序列化
反序列化
- json.decode
- jsonDecode,调用的上面的
jsonDecode() 返回一个 Map<String, dynamic>,这意味着你在运行时以前都不知道值的类型。使用这个方法,你失去了大部分的静态类型语言特性:类型安全、自动补全以及最重要的编译时异常。你的代码会立即变得更加容易出错
1
2
3
4
5
6
7
8
9
10
11
12
// 一个JSON格式的用户列表字符串
String jsonStr = '[{"name":"Jack"},{"name":"Rose"}]';
// 将JSON字符串转为Dart对象(此处是List)
List items = json.decode(jsonStr);
// 输出第一个用户的姓名
print(items[0]["name"]);

String jsonStr1 = '{"name": "John Smith","email": "john@example.com"}';
Map<String, dynamic> user = json.decode(jsonStr1);

print('Howdy, ${user['name']}!');
print('We sent the verification link to ${user['email']}.');
在模型类中序列化 JSON 数据
通过引入一个简单的模型 User 类来解决上面提到的问题。在 User 类中,你会发现:
- 一个 User.fromJson() 构造函数,用于从映射中构造一个新的 User 实例。
- 一个 toJson() 方法,这个方法会将 User 实例转换为一个映射。
1
2
3
4
5
6
7
8
9
10
11
12
13
14
15
16
17
18
19
20
21
22
23
24
25
26
27
28
29
void json_model() {
  String jsonStr = '{"name": "John Smith","email": "john@example.com"}';
  Map<String, dynamic> userMap = json.decode(jsonStr);
  // Map<String, dynamic> userMap = jsonDecode(jsonString);
  var user = User.fromJson(userMap);

  print('Howdy, ${user.name}!');
  print('We sent the verification link to ${user.email}.');

  String jsonStr1 = json.encode(user);
  // String json = jsonEncode(user);
  print(jsonStr1);
}

class User {
  final String name;
  final String email;

  User(this.name, this.email);

  User.fromJson(Map<String, dynamic> json)
      : name = json['name'],
        email = json['email'];

  Map<String, dynamic> toJson() => <String, dynamic>{
        'name': name,
        'email': email,
      };
}
json_serializable 和 built_value 使用代码生成库序列化 JSON 数据
适合为中大型项目
自定义命令策略
- 如果 API 返回带有 蛇形命名方式 的对象,并且你想要在你的模型里使用 小驼峰 的命名方式,你可以使用带有一个 name 参数的
@JsonKey注解
1
2
3
4
/// Tell json_serializable that "registration_date_millis" should be
/// mapped to this property.
@JsonKey(name: 'registration_date_millis')
final int registrationDateMillis;
- 定义
@JsonSerializable(fieldRename: FieldRename.snake)与添加@JsonKey(name: '<snake_case>')到每一个字段是同样的效果
1
2
3
4
5
6
7
8
9
10
11
12
13
14
/// Tell json_serializable to use "defaultValue" if the JSON doesn't
/// contain this key or if the value is `null`.
@JsonKey(defaultValue: false)
final bool isAdult;

/// When `true` tell json_serializable that JSON must contain the key,
/// If the key doesn't exist, an exception is thrown.
@JsonKey(required: true)
final String id;

/// When `true` tell json_serializable that generated code should
/// ignore this field completely.
@JsonKey(ignore: true)
final String verificationCode;
生成代码
- 编写代码
1
2
3
4
5
6
7
8
9
10
11
12
13
14
15
16
17
18
19
20
21
22
23
24
25
26
import 'package:json_annotation/json_annotation.dart';

/// This allows the `User` class to access private members in
/// the generated file. The value for this is *.g.dart, where
/// the star denotes the source file name.
part 'user.g.dart';

/// An annotation for the code generator to know that this class needs the
/// JSON serialization logic to be generated.
@JsonSerializable()
class User {
  User(this.name, this.email);

  String name;
  String email;

  /// A necessary factory constructor for creating a new User instance
  /// from a map. Pass the map to the generated `_$UserFromJson()` constructor.
  /// The constructor is named after the source class, in this case, User.
  factory User.fromJson(Map<String, dynamic> json) => _$UserFromJson(json);

  /// `toJson` is the convention for a class to declare support for serialization
  /// to JSON. The implementation simply calls the private, generated
  /// helper method `_$UserToJson`.
  Map<String, dynamic> toJson() => _$UserToJson(this);
}
- 到项目根目录执行命令:
- 一次生成:
flutter packages pub run build_runner build - 忽略已生成
flutter pub run build_runner build --delete-conflicting-outputs - 监听持续生成:
flutter pub run build_runner watch
- 一次生成:
- 会生成
user.g.dart文件
嵌套类 Nested Classes 生成
- address.dart
1
2
3
4
5
6
7
8
9
10
11
12
13
14
import 'package:json_annotation/json_annotation.dart';
part 'address.g.dart';

@JsonSerializable()
class Address {
  String street;
  String city;

  Address(this.street, this.city);

  factory Address.fromJson(Map<String, dynamic> json) =>
      _$AddressFromJson(json);
  Map<String, dynamic> toJson() => _$AddressToJson(this);
}
- user2.dart 嵌套 Address 类,加入
@JsonSerializable(explicitToJson: true)
1
2
3
4
5
6
7
8
9
10
11
12
13
14
15
16
import 'package:json_annotation/json_annotation.dart';

import 'address.dart';

part 'user2.g.dart';

@JsonSerializable(explicitToJson: true)
class User {
  User(this.name, this.address);

  String name;
  Address address;

  factory User.fromJson(Map<String, dynamic> json) => _$UserFromJson(json);
  Map<String, dynamic> toJson() => _$UserToJson(this);
}
使用 json_serializable 模型
以 json_serializable 的方式解码 JSON 字符串,你不必对以前的代码做任何的改动。和 dart:convert 的手动代码完全一样
1
2
Map<String, dynamic> userMap = jsonDecode(jsonString);
var user = User.fromJson(userMap);
编码也是如此。调用 API 和以前一样。
1
String json = jsonEncode(user);
在使用了 json_serializable 后,你可以立马忘掉 User 类中所有手动序列化的 JSON 数据。源代码生成器会创建一个名为 user.g.dart 的文件,它包含了所有必须的序列化数据逻辑。你不必再编写自动化测试来确保序列化数据奏效。现在 由库来负责 确保序列化数据能正确地被转换。
json_serializable 不生成 xxx.g.dart 问题
- part ‘product.g.dart’; ,不是类名 Product
- 对应的文件是 product.dart
- flutter pub run build_runner build –delete-conflicting-outputs
jsonModel 包
引入
https://github.com/flutterchina/json_model
1
2
3
dev_dependencies:
  json_model: ^1.0.0
  json_serializable: ^5.0.0
生成
- user.json 创建或拷贝 Json 文件到 “jsons” 目录中 ;
1
2
3
4
5
6
7
{
  "name":"wendux",
  "father":"$user", //可以通过"$"符号引用其它model类, 这个是引用User类
  "friends":"$[]user", // 可以通过"$[]"来引用数组
  "keywords":"$[]String", // 同上
  "age?":20  // 年龄,可能为null
}
- flutter packages pub run json_model
Flutter SP 存储
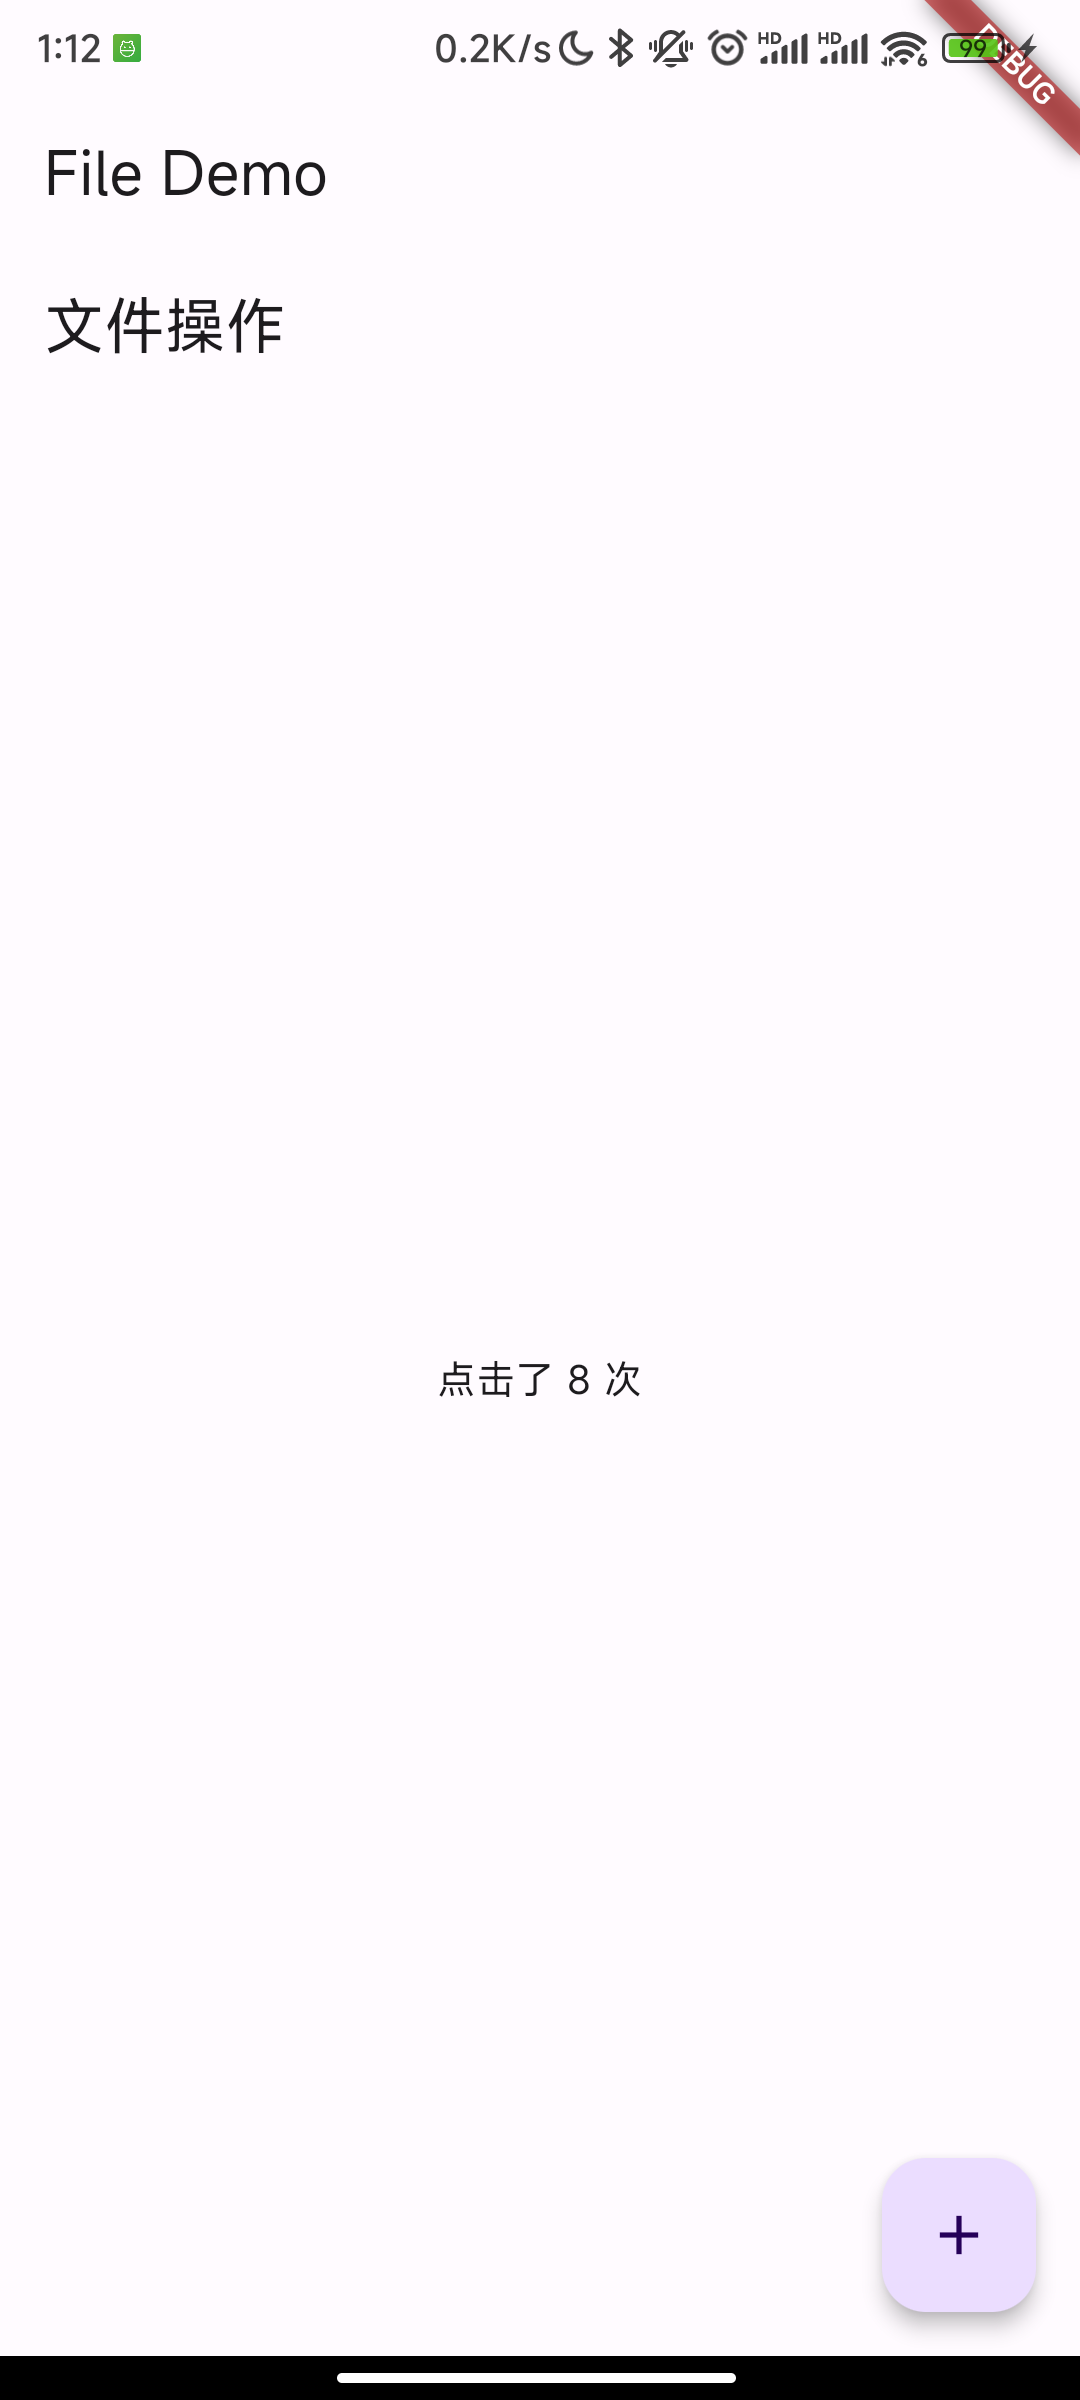
文件操作
获取 App 目录 PathProvider 插件
Android 和 iOS 的应用存储目录不同,PathProvider 插件提供了一种平台透明的方式来访问设备文件系统上的常用位置。该类当前支持访问两个文件系统位置:
- 临时目录:可以使用
getTemporaryDirectory()来获取临时目录; 系统可随时清除临时目录的文件。在 iOS 上,这对应于 NSTemporaryDirectory() 返回的值。在 Android 上,这是 getCacheDir() 返回的值。 - 文档目录:可以使用
getApplicationDocumentsDirectory()来获取应用程序的文档目录,该目录用于存储只有自己可以访问的文件。只有当应用程序被卸载时,系统才会清除该目录。在 iOS 上,这对应于 NSDocumentDirectory。在 Android 上,这是 AppData 目录。 - 外部存储目录:可以使用
getExternalStorageDirectory()来获取外部存储目录,如 SD 卡;由于 iOS 不支持外部目录,所以在 iOS 下调用该方法会抛出 UnsupportedError 异常,而在 Android 下结果是 Android SDK 中 getExternalStorageDirectory 的返回值。
示例:以计数器为例,实现在应用退出重启后可以恢复点击次数
1
2
3
4
5
6
7
8
9
10
11
12
13
14
15
16
17
18
19
20
21
22
23
24
25
26
27
28
29
30
31
32
33
34
35
36
37
38
39
40
41
42
43
44
45
46
47
48
49
50
51
52
53
54
55
56
57
58
59
60
61
62
63
64
65
66
67
68
69
70
71
72
73
74
75
76
77
78
79
80
81
82
83
84
85
86
87
class FileDemo extends StatelessWidget {
  const FileDemo({super.key});

  @override
  Widget build(BuildContext context) {
    return MaterialApp(
      theme: ThemeData(
        colorScheme: ColorScheme.fromSeed(seedColor: Colors.deepPurple),
        useMaterial3: true,
      ),
      home: Scaffold(
        appBar: AppBar(
          title: const Text("File Demo"),
        ),
        body: Container(
          decoration: const BoxDecoration(
            color: Colors.transparent,
          ),
          child: demoWidget(),
        ),
      ),
    );
  }

  Widget demoWidget() => FileOperationRoute();
}

class FileOperationRoute extends StatefulWidget {
  const FileOperationRoute({Key? key}) : super(key: key);

  @override
  _FileOperationRouteState createState() => _FileOperationRouteState();
}

class _FileOperationRouteState extends State<FileOperationRoute> {
  int _counter = 0;

  Future<File> _getLocalFile() async {
    // 获取应用目录
    List<Directory>? directory = await getExternalCacheDirectories();
    String path = directory![0].path;
    return File("$path/counter.txt");
  }

  Future<int> _readCounter() async {
    try {
      File file = await _getLocalFile();
      // 读取点击次数(字符串)
      String contents = await file.readAsString();
      return int.parse(contents);
    } on FileSystemException {
      return 0;
    }
  }

  _incrementCounter() async {
    setState(() {
      _counter++;
    });
    // 将点击次数以字符串类型写到文件中
    await (await _getLocalFile()).writeAsString("$_counter");
  }

  @override
  void initState() {
    super.initState();
    // 读取点击次数
    _readCounter().then((value) => setState(() {
          _counter = value;
        }));
  }

  @override
  Widget build(BuildContext context) {
    return Scaffold(
      appBar: AppBar(title: const Text('文件操作')),
      body: Center(
        child: Text('点击了 $_counter 次'),
      ),
      floatingActionButton: FloatingActionButton(
        onPressed: _incrementCounter,
        tooltip: 'Increment',
        child: const Icon(Icons.add),
      ),
    );
  }
}